
The story of how this macrame crop top came to be is nothing more complicated than the simply fact that I was bored. As we all know, I'm not a seamstress. Therefore I'm always looking for new things that I can mess around with and create that involve no sewing whatsoever. This was both fun and intimidating for me, because I'm usually not a big wearer of crop tops--whether it comes from lack of confidence or just the fact that half of me is blatantly sticking out, I'm not sure. This macrame crop top caught my eye after seeing a few pictures and DIYs on it going around the internet, so I decided to try it for myself and, hopefully, change my opinion about crop tops. So did I end up coming around to love the 70s flower child inspired look? Check my first summer DIY adventure below to find out!
A slightly oversized tank top (I used one that I hated, from the color to the style)
Fabric scissors (or any scissors that will cut through material)
A straight edge ruler
A fabric marker or other marker that will show up on material
1. Put the tank top on and mark where you want to cut. This is why it's a good idea to use a tank top that's a little long, because once you begin knotting for the macrame, you'll lose a little bit of length. You can always trim the fringe later on.


3. Cut the hem off. My tank belled out a little at the bottom, so I had to be careful cutting the hem to make sure I kept a mostly straight line and was able to cut all of the seams off evenly.

4. I marked where I wanted to cut my strips up to with a sharpie (since I really don't like this tank and it was only my first attempt/to show all of you, I wasn't worried about being able to see the black dots), then, measured out 1/4 inch strips across and dotted where each one began and ended to us as a guide when I was ready to cut them out. You want to make sure you get an even number across--this takes a little bit of time, but it's worth it.
 |
| All of those tiny little dots are where my strips will be cut out. You can make these as thin or as thick as you want, depending on what style you want to achieve and how much skin you want to show. |
 |
| If you do make them 1/4 inches apart like I did, be careful if you're using a tshirt material tank top. The material likes to stretch, which makes great knots, but if cut too thin, it can also rip. |

6. All finished! Now for the fun part. I found this trick from a youtube video, if you slide a piece of paper or cardboard (I used cardboard, I like the sturdier surface), you can keep track of your front strips and your back strips.

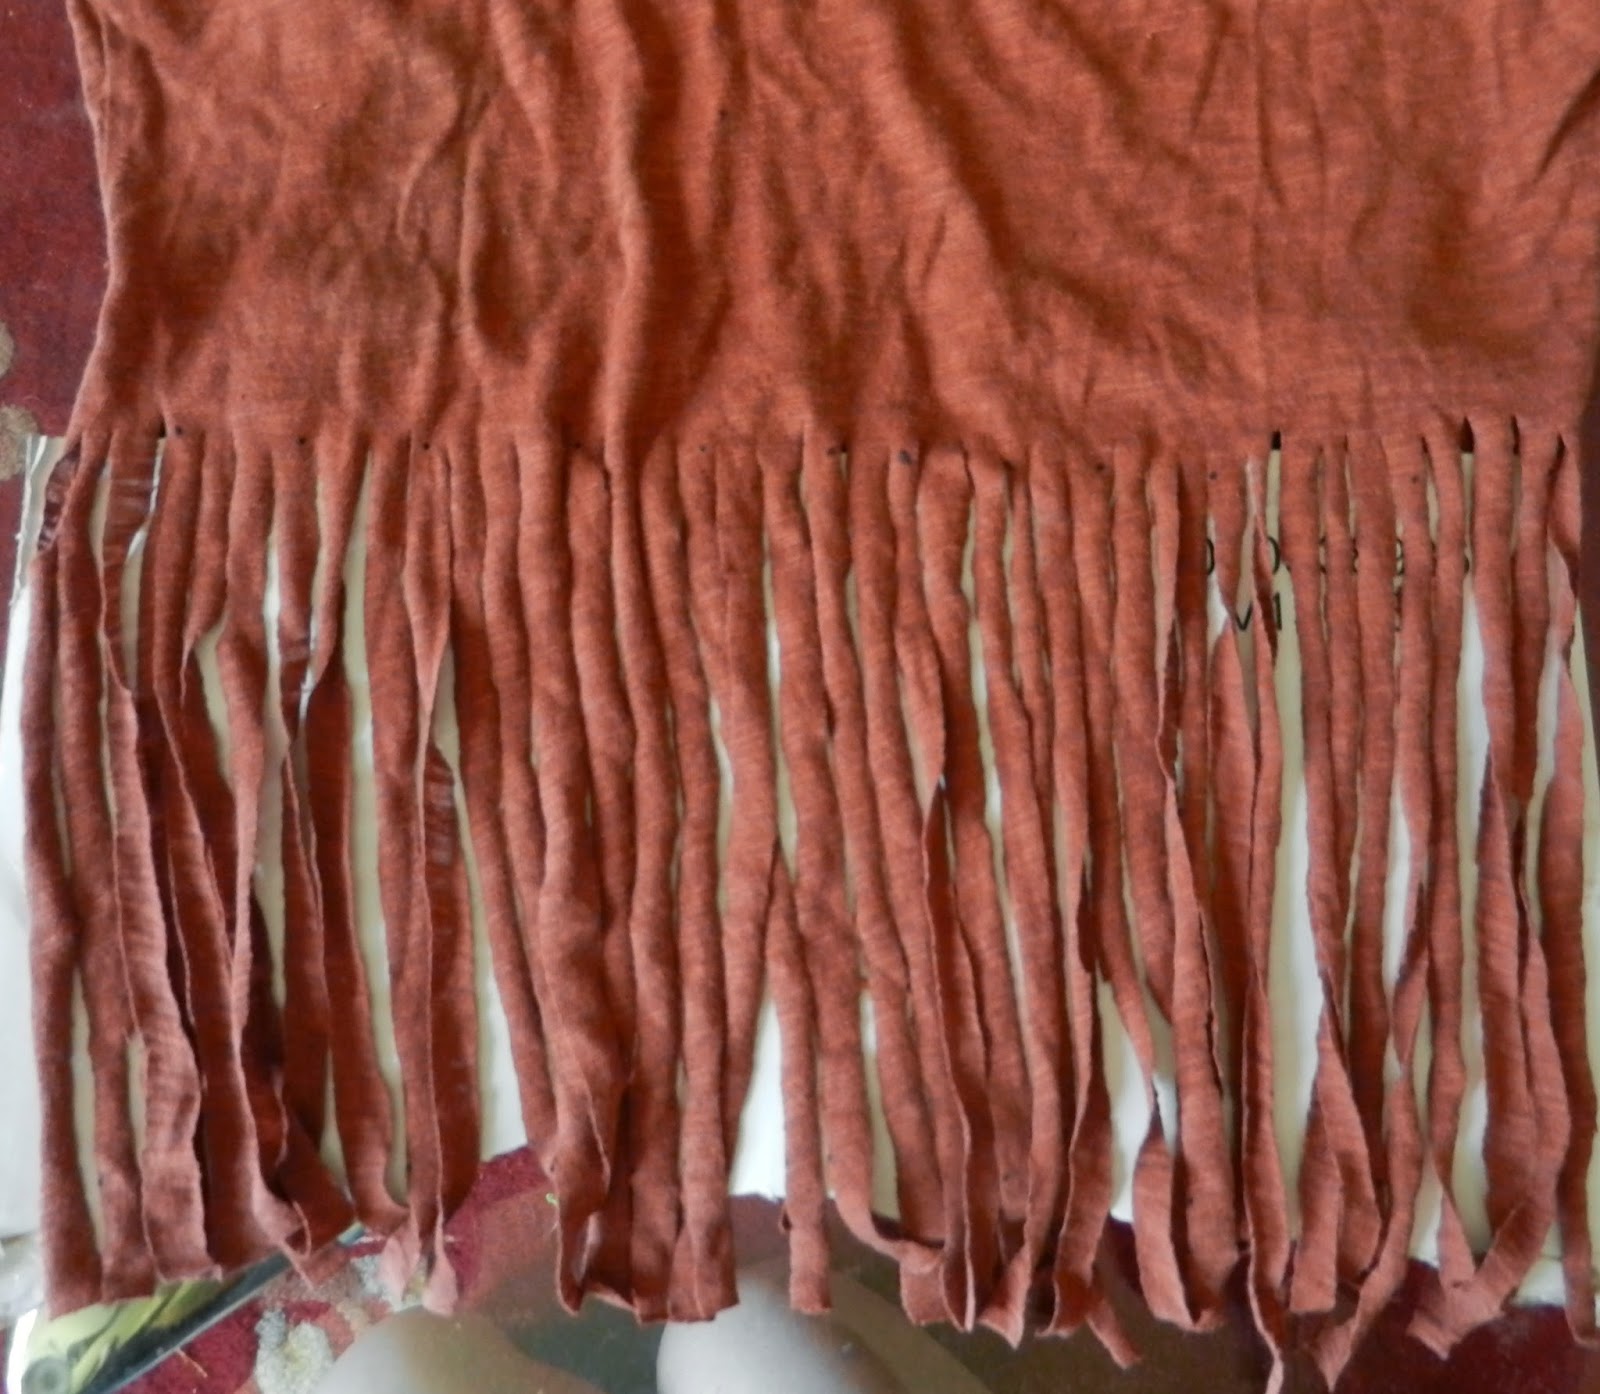 |
| See-easy! |
7. Knot time. This is fairly simple, anyone who has ever made a hemp bracelet will know how this kind of knot goes. You basically want to hold two pairs of strips and hold the left strip straight, bringing the right strip around the left strip to knot it. Then, reverse: hold the right strip straight, and bring the left strip around to knot it. Pull slowly, tighten at the top. Remember this knot, because it's the same one you'll use in step two about halfway down the shirt (if you want the crisscross fringe look).
 |
| Right strip held tightly |
 |
| Left strip gets crossed over, then tie in a knot around the right strip |
 |
| Pull! |

 |
| Switch and repeat |
 |
| It should look like this |
 |
| Then a row should begin looking like this |
 |
| When finished, the front should look like this. |

8. Flip over to the back (don't worry about any stragglers that get caught by your side seams, if you work your way around by sections--which is what was easiest for me--as long as you have an even number of strips, you can just catch them at the end) and do the same thing.
9. Now it gets a little more complicated, but still pretty easy. It may take a few times looking back and forth to make sure that you have the correct crisscross pattern, but you'll get the hang of it! Begin by separating both sides again with your cardboard or paper. Then, bring over the first 8 strips (4 knots), and push the rest to the side so as to not interfere with the first set of knots.

10. Take the right strip from the first knot, skip over the entire second knot, and the first strip to the third knot. Tie exactly like before.

11. From this point on it gets somewhat self-explanatory, because the strips that aren't already in knots, obviously get tied together from left to right. Once you've knotted the first layer, skipping the in-between knots altogether, go back and take the left strip to the first knot, and tie to the first strip of the second knot. In keeping with the way the fringe naturally fell, I kept the first strip I was taking from the left above the others, and kept the second strip that I was using from the right going under the knot before it.

12. Once you have the first knot down, you take the second strip from the second knot (the one pictured above that is still untied), and knot it with the first strip from the third knot! So on and so forth. The best advice I can give is to trust your instincts with this one. You don't have to do this crisscross--be creative! You could even add more knots if you want, I just didn't have the patience and wanted to see how this came out first. Don't worry about messing up, they're just knots so you can always untie them and start over.
13. Repeat this process as you work your way through the fringe around the entire shirt. Once you start the second set of knots, it becomes a little bit easier to see where you started and where you'll be ending.
 |
| This is what your tank should look like after the second set of knots is completed |
14. You're done! Below is my finished product. I was still unsure about the whole thing...
 |
| Front |
 |
| Back, with lace detail |
…until I actually put it on.


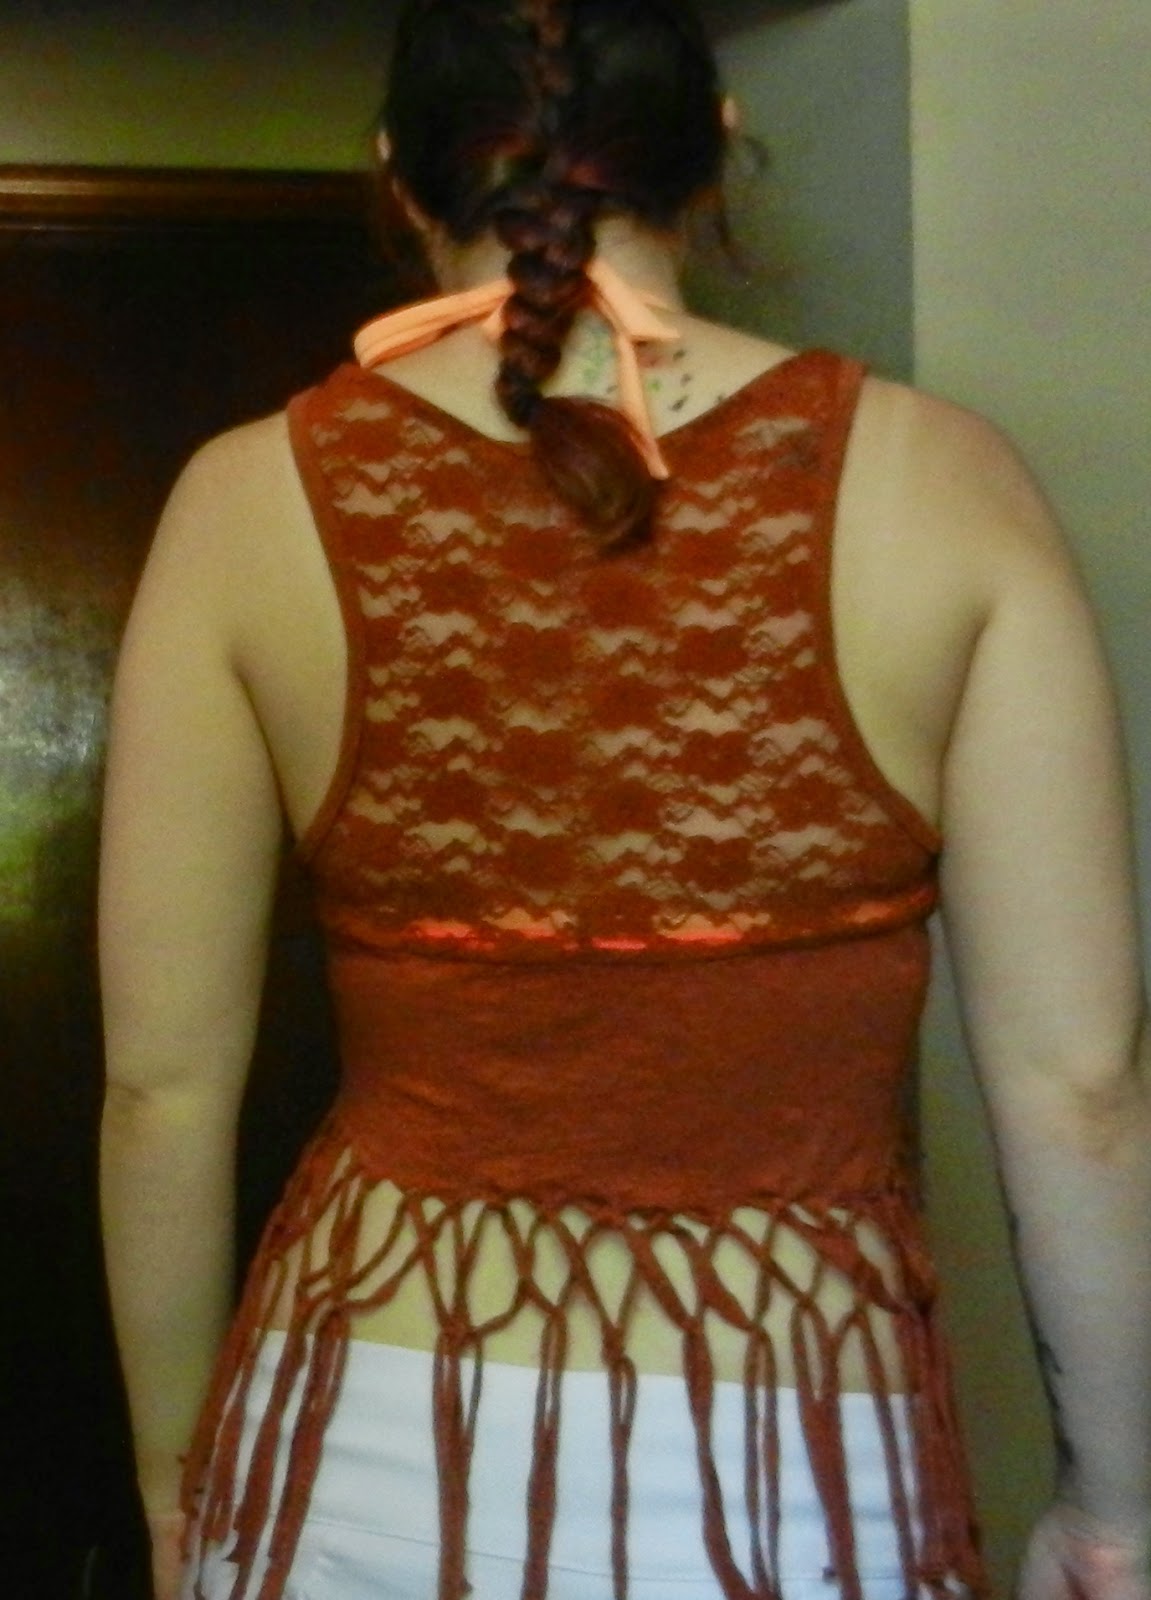


I guess now you could say that I'm over my DIY fears (for the most part), and I'm now a fan of--certain--crop tops. I think this will make an adorable bathing suit cover up, or even be cute for all-day beach day or road trip wear. And much, much cooler to wear in 80 degree temps than a regular tshirt or tank. Who would have known that from a thrifted tank that I initially hated, I could make a 70s inspired, modernized macrame crop top!
Happy DIYing!
xo, Katie





